![1000X162.png]](https://kb.systemology.com/hs-fs/hubfs/1000X162.png?width=250&height=43&name=1000X162.png)
🎨 Why Branding Matters
Your branding shows on the dashboard, in emails sent to your team, and on every printed PDF. Setting it once makes the whole platform feel like an extension of your company.
🖼️ How to Add Your Logo
- Navigate to the sidebar and go to Settings -> Branding.
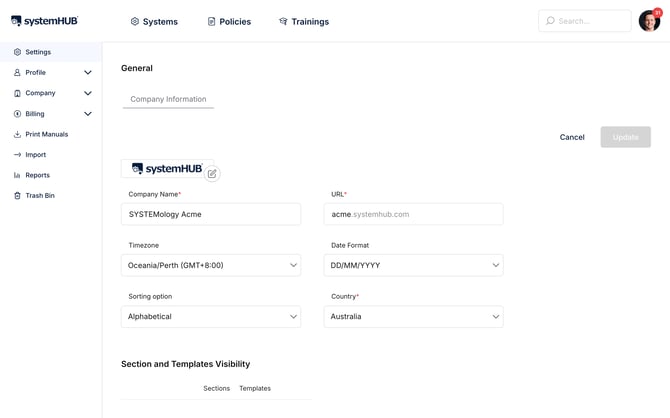
- Click Upload logo.
- Select a PNG or JPG file from your device. For best results, we recommend a size of 200×60px, a transparent background works best.
- Click Save.
Once saved, your logo will appear in the top-left corner of every page across the platform.
🎨 How to Set Your Brand Colours
systemHUB ships with a set of colour presets, or you can use a custom hex code from your official brand guidelines.
- Navigate to Settings -> Branding -> Colour.
- Click on a preset option, OR
- Paste your custom hex code (e.g., #2A6F45) into the input field.
- Click Save.
The new colour applies instantly across all navigation menus, action buttons, and platform accents.
💡 Pro Tips for a Clean Look
- Keep your logo simple: Logos with fine detail get hard to read at small sizes inside the dashboard header.
- Choose your primary action colour: If your brand has multiple colours, use your primary action colour, the one you would typically put on a "Buy Now" button, as it will be used on systemHUB's main call-to-action elements.
- Print-ready visuals: Branding applies to printed manuals too, so make sure you update these settings before you generate any PDF reports for the company.
🎉 You're All Set!
Your systemHUB workspace is now beautifully tailored to your brand identity. Every time your team members log in, review an email, or print out a system document, they will experience a professional workspace customized for your business.